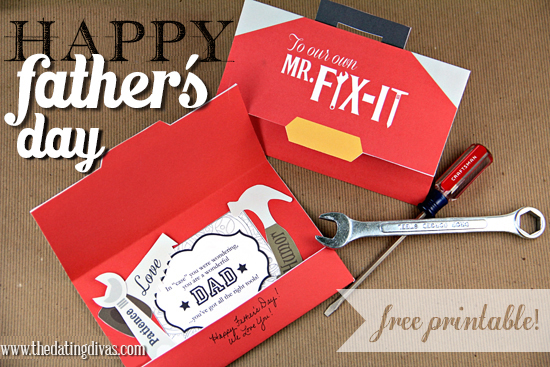
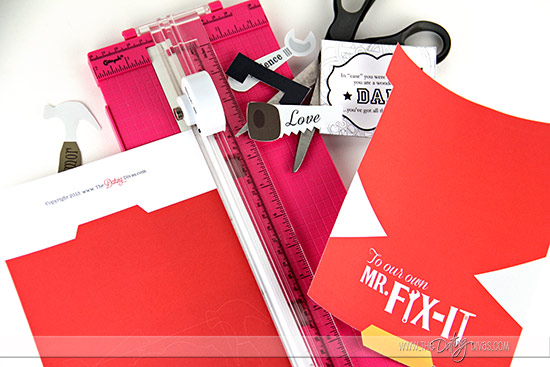
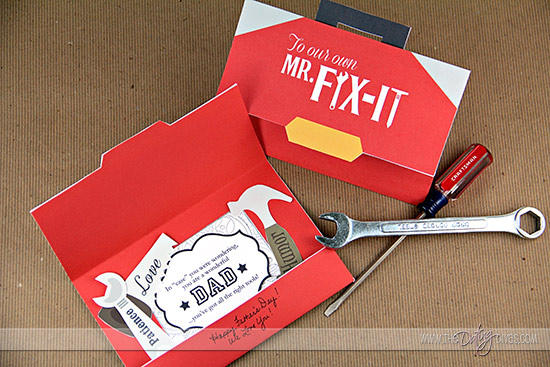
This post contains affiliate links. To learn more about ’em, click here. This card has it all, including a cute spin-off of the Mr. Fix-It theme, compliments in the shape of tiny tools, and a sweet message for Father’s Day! A huge thank you to Sameeha with The Inked Leaf– she did an awesome job translating my ideas into this beautiful printable! To make the card, download and print out the PDF onto nice paper, white cardstock would be the best. The most time consuming part of this DIY project is cutting out all of the shapes. If you are like me and have a bit of difficulty cutting a straight line accurately, I highly recommend using some kind of paper cutting tool to make the job super easy! I use this pink paper cutter from EK Success all the time.
After all your shapes are cut out, adhere the pieces together using a glue stick or a tape runner. Note: The second page of the printable is the inside panel of your “toolbox.” This piece is glued to the back of the first page.
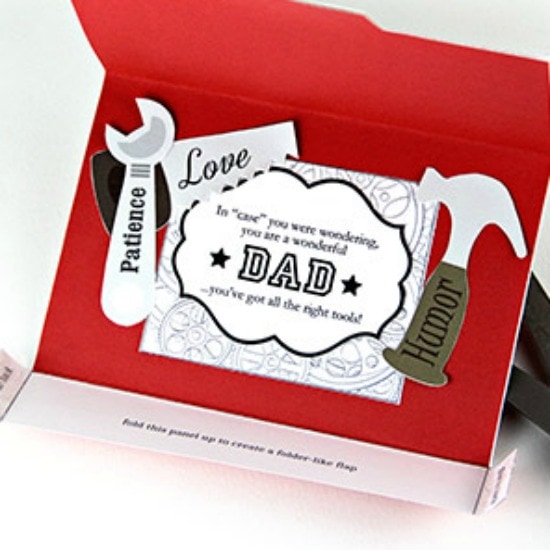
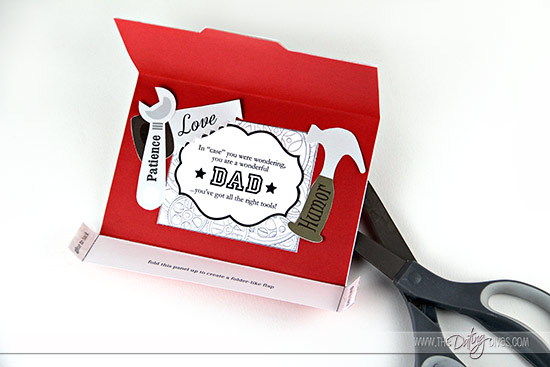
Now, here comes the fun part: assembling the inside panel!
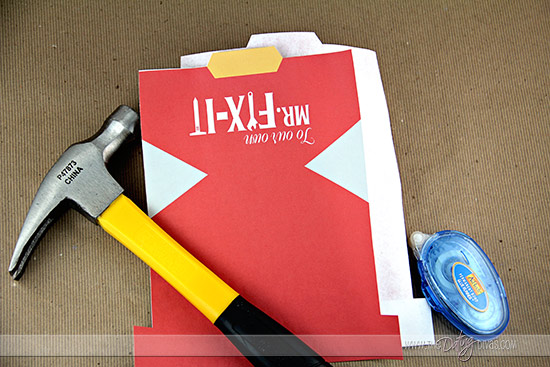
Sameeha included a very faint outline of where all the tools should be placed on the inside panel. To finish the card, fold up the bottom panel on the outline and glue the tabs to the back cover. Then, attach the tiny toolbox handle to the back of the card!
Voilà! A homemade DIY card in a matter of minutes that will leave a lasting impression on the Mr. Fix-It in your life!